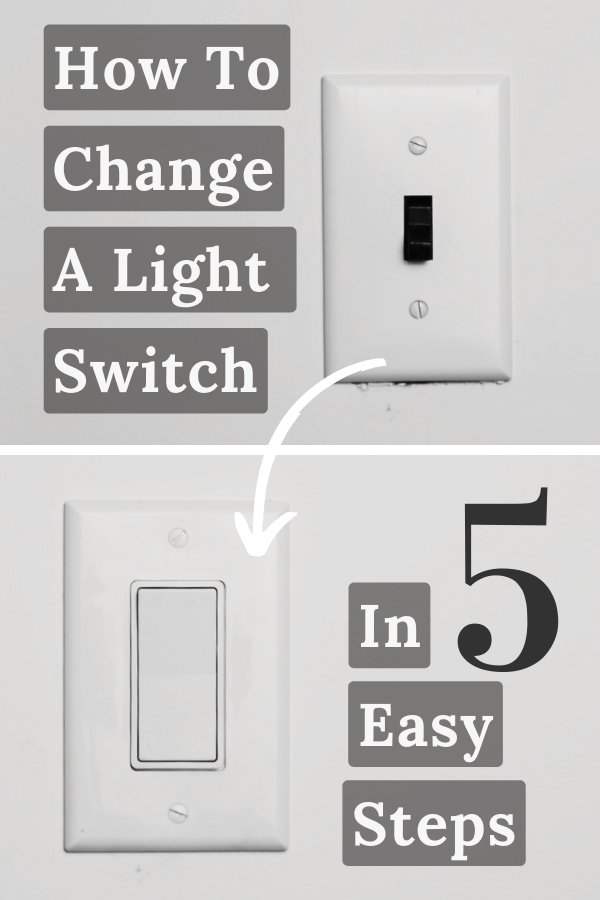
Easy DIY | How to Change a Light Switch in 5 Steps
This post may contain affiliate links, meaning I make a commission if you purchase through my links, at no extra cost to you. Disclosure here
Follow our simple, step-by-step guide with easy-to-follow pictures to learn how to change a light switch.
Ready to modernize your room with a sleek new light switch?
If you’ve ever felt intimidated by home electrical work, this guide is for you. We’ll walk you through each step of changing a light switch, complete with clear photos to guide you.
This post offers a practical, hands-on tutorial for safely replacing your old light switch with a modern, stylish one. Whether you’re a DIY novice or just looking to upgrade your space, this guide ensures you can confidently and safely make the switch to a more contemporary look.
Project snapshot
TOTAL TIME: Under 15 minutes
SKILL LEVEL: Beginners
COST: Under 20$
What You Will Need
Equipment / Tools
- Screwdrivers: A flathead and a Phillips screwdriver are indispensable for removing the faceplate and securing the new switch.
- Wire Stripper/Cutter: This dual-purpose tool is a must-have for preparing your wires for connection.
- Voltage Tester: Safety first! A voltage tester is crucial for confirming that the power is indeed off before you start working.
- Utility Knife (Optional): Handy for scoring paint around the old switch or trimming wires if needed.
Materials
- Replacement Light Switch: A single-pole wall switch
- Wire Connectors (Optional): These may be needed if you have to join any wires during the installation.
How to Change a Light Switch?
Changing a light switch is a straightforward task that can make a significant impact on the functionality and aesthetics of your home. Follow these steps to ensure a successful replacement.
STEP 1 | Safety First!
Safety is paramount when dealing with electrical components. Before you start the process of changing your light switch, it’s crucial to take the necessary precautions to avoid any electrical hazards.
Turning Off the Power
- Locate your home’s circuit breaker or fuse box and switch off the power to the area where you’ll be working. This is typically labeled for easy identification.
- Double-check that the power is off by using a voltage tester on the light switch. No lights on the tester means you’re good to go.
Safety Tips
- Inform everyone in the household that you are working on the electrical system to prevent someone from accidentally turning the power back on.
- Wear rubber-soled shoes and use insulated tools to minimize the risk of electrical shock.
- Keep a flashlight handy if you’re working in a poorly lit area.
By following these safety steps, you’re setting yourself up for a successful and injury-free installation of your new light switch. Remember, if you’re ever uncertain or uncomfortable with the process, there’s no harm in consulting a professional electrician.
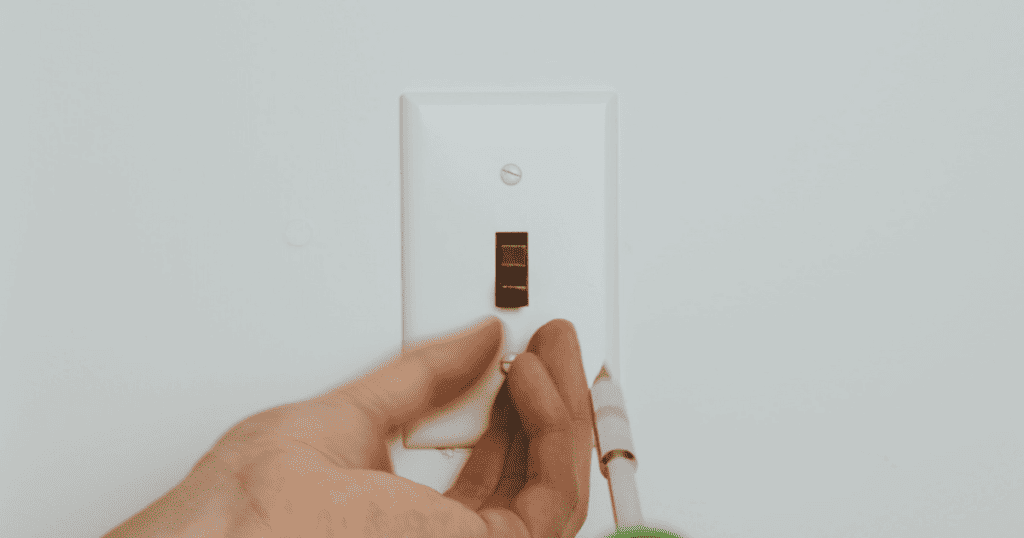
STEP 2 | Unscrew the Old Switch Cover
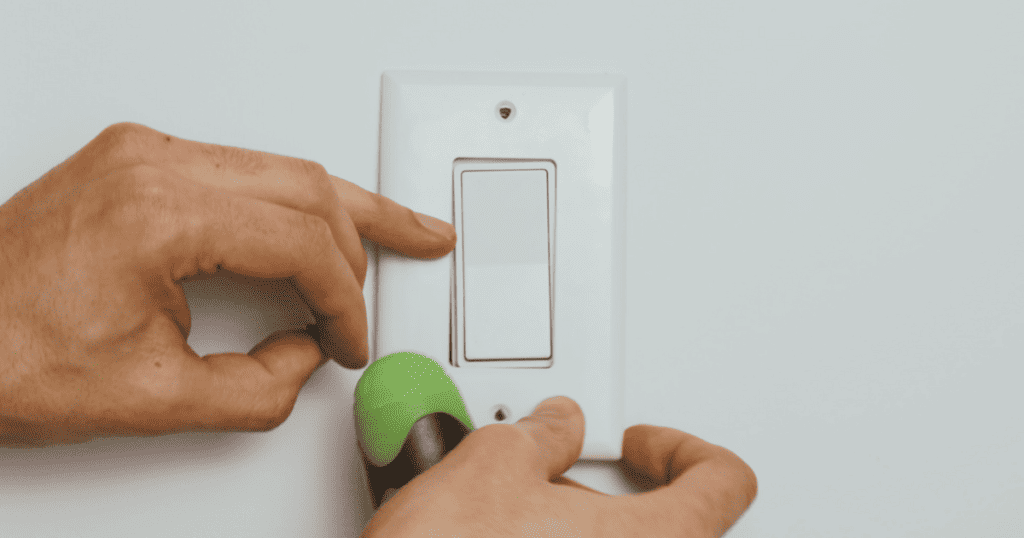
Start by removing the faceplate using your screwdriver. If it’s been painted over, gently score the edges with a utility knife to prevent peeling paint.
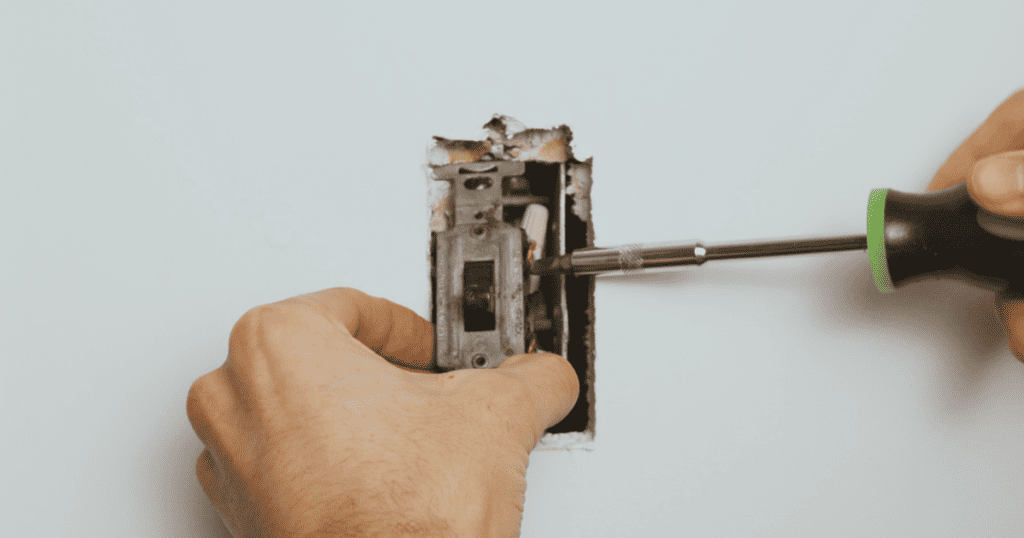
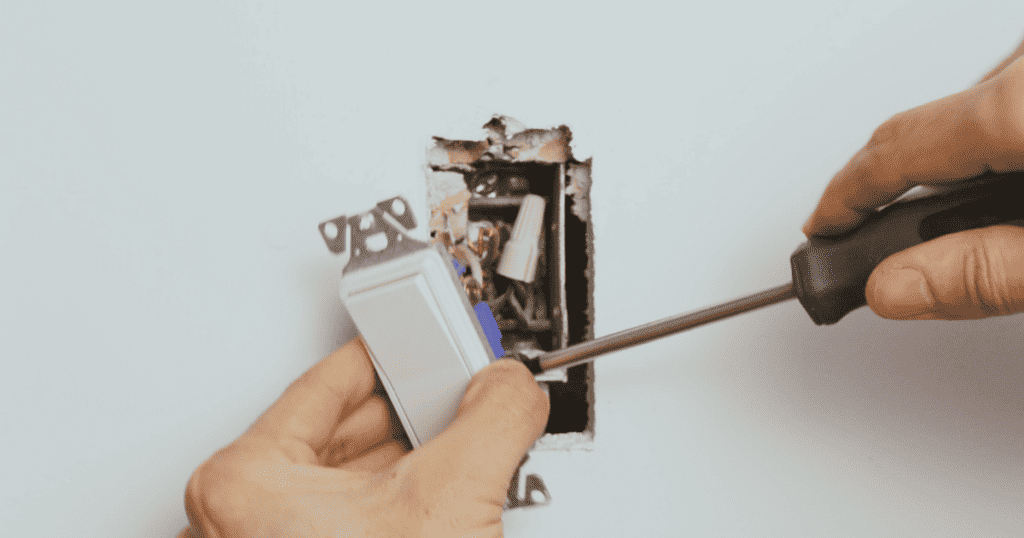
STEP 3 | Pull the Old Switch
Unscrew the old switch from the electrical box and gently pull it out, but leave the wires connected. Take a moment to observe how the wires are connected – taking a photo can help you remember.
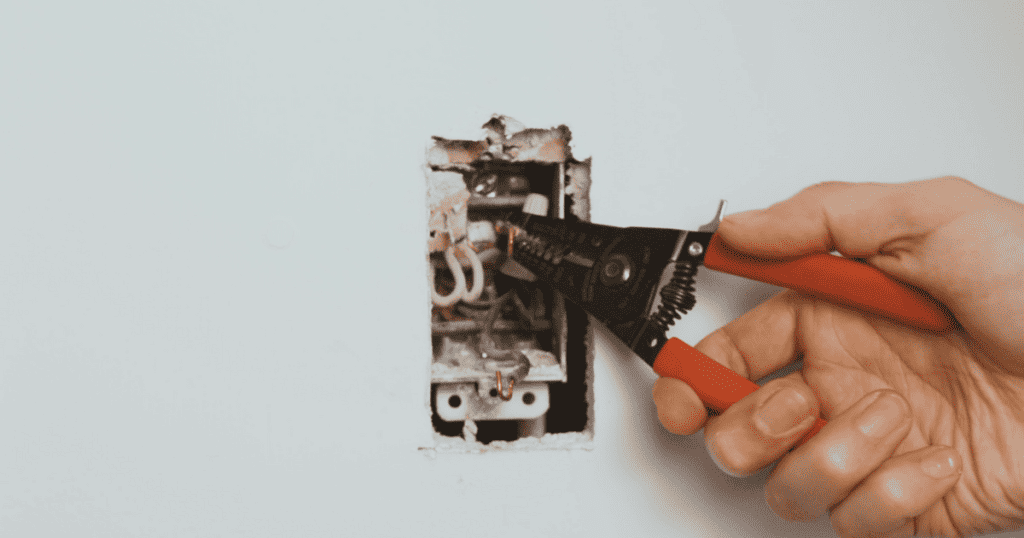
STEP 4 | Swap the Switch
Unhook the wires from the old switch (be careful not to let them touch anything). Attach them to the new switch in the exact same way. If you’re unsure, refer to the photo you took.
Strip the wires if necessary, using your wire stripper/cutter to expose about 3/4 inch of fresh wire.
Connect the wires to the new switch. If it’s a like-for-like replacement, connect them in the same configuration as the old one.
STEP 5 | Put It All Back Together
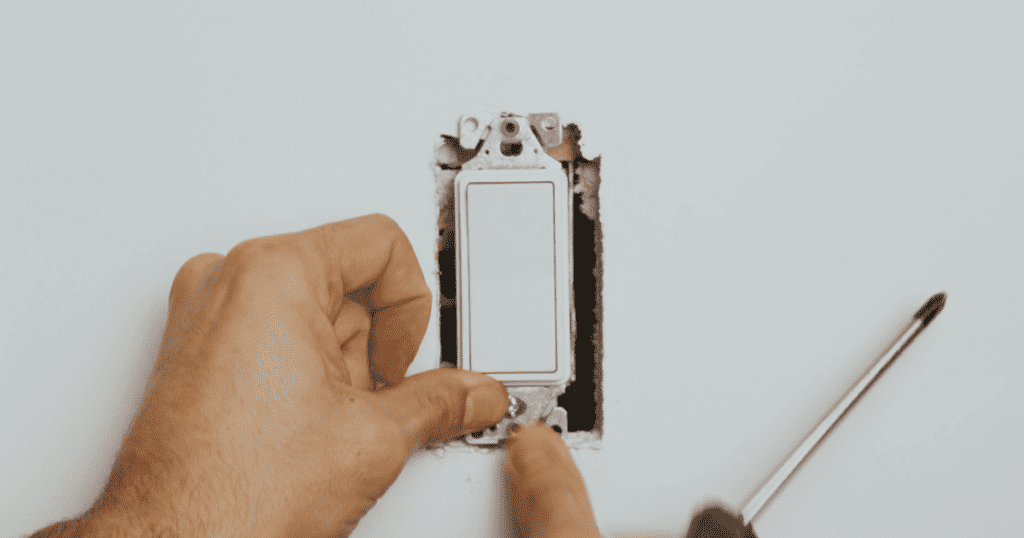
Once the wires are connected, carefully push the switch back into the electrical box and secure it with screws. All the screws should be snug, but not overly tight.
Attach the new cover, turn the power back on at the circuit breaker, and test your new switch.
By following these steps, you’ve not only changed your light switch but also taken another step towards becoming a proficient DIYer. Remember, if you encounter any issues or feel unsure at any point, seek the assistance of a professional electrician.
Troubleshooting Common Issues
After installing your new light switch, you might encounter a few hiccups. Here’s how to troubleshoot some of the most common issues:
The Switch Doesn’t Work
- Double-check that the power is turned back on at the circuit breaker.
- Confirm that all wire connections are secure and properly matched to the correct terminals.
Wires Are Too Short or Damaged
- If the wires are too short, use a wire connector to attach a new length of wire to extend it.
- If the wires are damaged, trim the damaged portion and strip the insulation to reveal fresh wire for a secure connection.
Buzzing Sound When Switch Is On
- A buzzing sound could indicate a loose connection. Turn off the power and double-check all connections.
- If you’ve installed a dimmer switch, ensure it’s compatible with the light bulbs you’re using.
By addressing these common issues, you can ensure your light switch functions correctly and safely. If problems persist, it may be time to consult a professional electrician.
From start to finish, this guide simplifies how to change a light switch, empowering you to refresh your home’s lighting with confidence and ease.

